How to create stunning garden borders – 12 essential tips
Garden borders are at the heart of the garden.
It’s probably the first thing any visitor to your garden sees. It’s the major splash of colour in most gardens. And it’s also likely to be the element that you enjoy the most yourself.
So I went to the famous West Dean Gardens near Chichester to ask for advice on creating superb garden borders from head gardener and garden writer Tom Brown.

Tom Brown, garden writer and head gardener of West Dean Gardens in Sussex.
West Deans Gardens date back to 1622, although the current garden layout was originally created in 1804. Many of the existing mature trees, such as beeches, limes, horse chestnuts and cedars, date from this period. The glasshouses and pergola were created in Victorian times, but it was the 1987 storm in Britain that paved the way for a major renovation of the gardens. This was originally carried out by Jim Buckland and Sarah Wain. Tom has picked up the baton, continuing to take West Dean Gardens forward – to the superb 21st century gardens they are today.
West Dean College is now an arts and conservation educational trust and the gardens are open to the public.
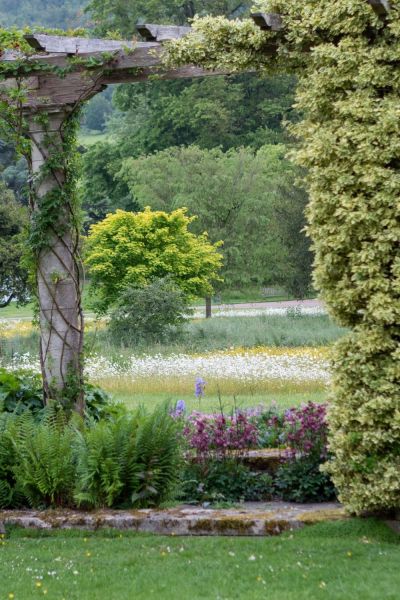
The gardens at West Dean are set into woodland and parkland. Views of the beautiful garden borders flow into the countryside, where there are ancient trees and meadow planting.
What’s your starting point for creating garden borders?
Tom starts with either the theme or the colour palette of the border. ‘If I’m renovating an established border, the colour theme will probably already be there.’
A border theme could be ‘exotic’, ‘alpine’, romantic, English country or many other ideas. ‘But the principles of planting and design are the same, whether you’re working with irises or banana palms,’ says Tom.
Make a list of plants by height
He then lists plants by their heights. ‘I make lists of the tall plants, the medium height plants and short plants.
I also make a list of ‘accent plants’ that fit within that theme or colour.’
He ends up with too many different varieties of plants on the list. So after that he needs to reduce the numbers down to the ones he really likes.
‘Less is more,’ he advises. ‘ You need to end up with a much smaller list of plants than you are necessarily comfortable with.’ Each plant really has to justify its position on the short-list.
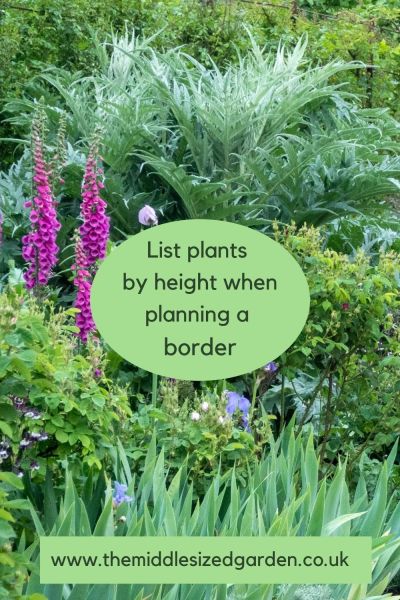
Make four lists – tall, medium and short plants, plus accent plants.
It’s better to have fewer varieties plants, with those varieties repeated, rather than to try to cram in as many different plants as possible in a border.
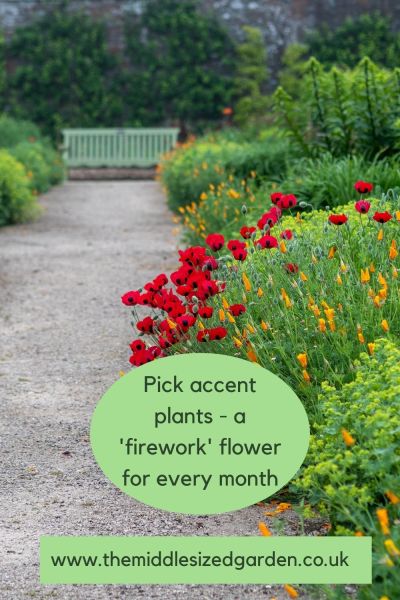
Pick an accent colour for every few weeks. This will be the flowers people remember when they talk about your garden borders.
Once you have the final plant list, start with height and repetition
‘Once you have the list, look at the tall plants for structure and for repetition.’ Repetition is very important in a border, says Tom. It makes the eye bounce around the border rather than just look up and down it.
In this border, the cardoons, planted intermittently in a zig-zag down both borders provides height and repetition.
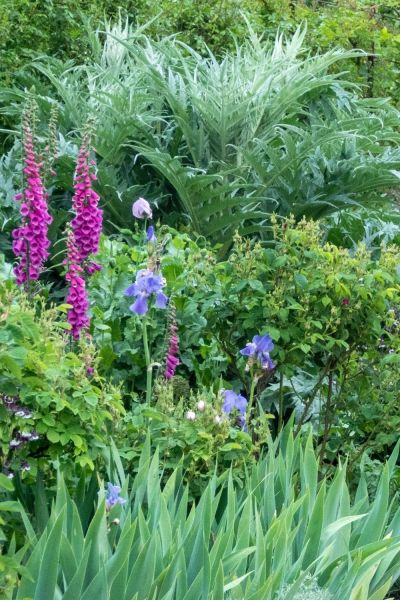
Here the tall grey leaves of the cardoon, at the back of the border, create the structure. Tom creates the rhythm of the border by repeating the cardoons down the border on both sides.
‘So put those big structural plants at the back. Rhythm and repetition are what divides a good border from a great border.’
Then decide on the medium-sized plants
The next step is to add what Tom refers to as ‘your cushion plants’. These are the medium-sized plants which will give you lots of flowers throughout the season, providing you with the colour in your border. ‘For example, phlox or asters,’ he says.
Then think about what you’re going to have at the front of your borders. This doesn’t have to be a low-growing plant. Tom says that, tall airy plants, such as Cirsium rivulare (Plume Thistle) or verbena bonariensis can be planted at the front of a border because people can see the plants behind through it.
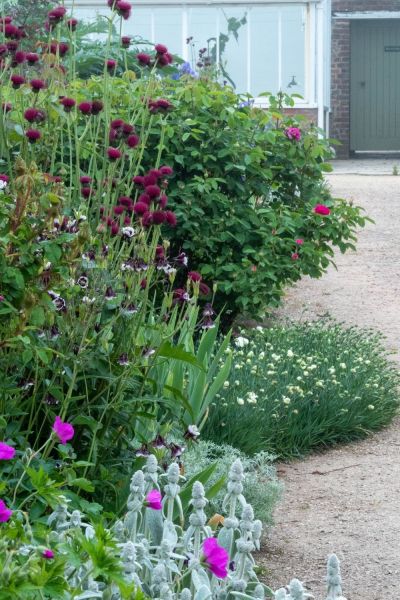
You don’t have to have all the tall plants at the back and all the smaller ones at the front. One of Tom’s favourite plants is this red Plume Thistle (Cirsium rivulare ‘Atropurpureum’) which is light and airy so it can be planted in front of shorter plants.
Tom also recommends irises for the front of a border. They need the sun on their rhizomes, and they have good sculptural leaves. Find out how to grow irises here.
Be aware of contrast when you’re putting different elements together
When you’re putting these plants together, always be aware of contrast, says Tom. That may mean contrasting rounded foliage with sword-like leaves.
Or pair upright flowers like foxgloves contrasted with rounded flowers like peonies, for example. ‘Try to put the contrasting plants next to each other because if you’ve got two flowers or plants that look the same, it’s going to be hard for them to grab your attention as you walk down the border.’
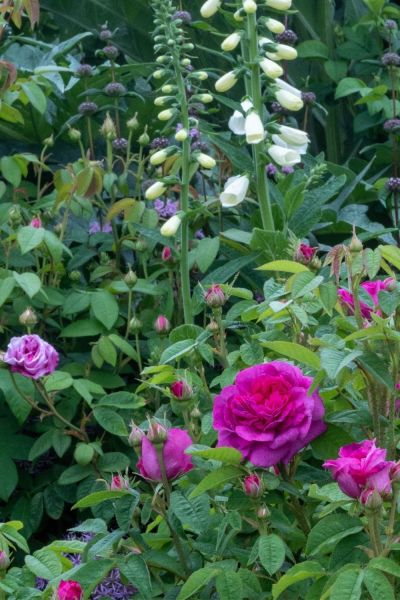
Pair contrasting flowers or foliage, says Tom. For example, the spiky foxglove looks good with the round flowers of the rose.
What percentage of a border should be perennials?
‘Over the years, I’ve come to the conclusion that a really good border should consist of 80% permanent plants,’ says Tom.
The plants that stay permanently in a border are shrubs, perennials and bulbs. Shrubs are plants with a woody stem that stays above the year all year round, such as roses. Perennials are plants which often die back in winter, but come back year after year. These include asters, some salvias and more. There is a post called ‘Perennials made simple’ here.
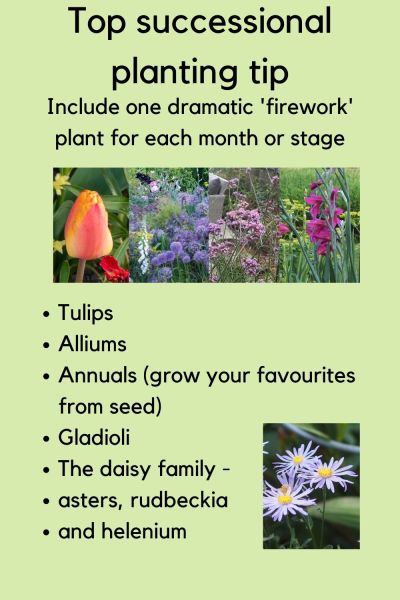
The other 20% of plants are annuals. ‘I rely on annuals, which I grow from seed, to give me the fireworks of season colour in the borders. The inject drama,’ says Tom.
(For growing annuals from seed, see Seed sowing – expert tips for more flowers and better germination.‘
‘If you can have one memorable colour in the border in every season – for example, tulips or alliums – then you’ll have a very successful border.’
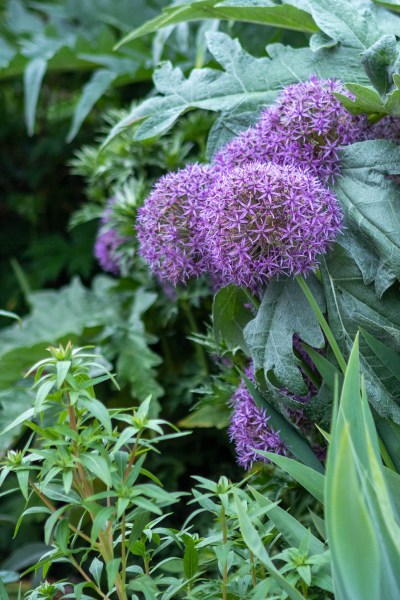
These bulbs are Allium ‘Christophii’. Tom uses alliums as part of his successional flower ‘fireworks.’
How do you keep a border lush and full of plants without looking messy?
Tom advises having fewer varieties of plants in larger clumps. A border is a competitive place for plants and some plants get overwhelmed by others.
But if you have a reasonable sized clump of plants – for example, 7, 9 or 11 plants instead of one, two or three – then if a couple of plants on the edges are overwhelmed by their neighbours, you’ll still have a good clump of colour.
‘When I’m planting the plants, I think of a tadpole shape. So I plant the main clump and then there’ll be a tail. That will dovetail into the back or into another clump’s tadpole tail.’
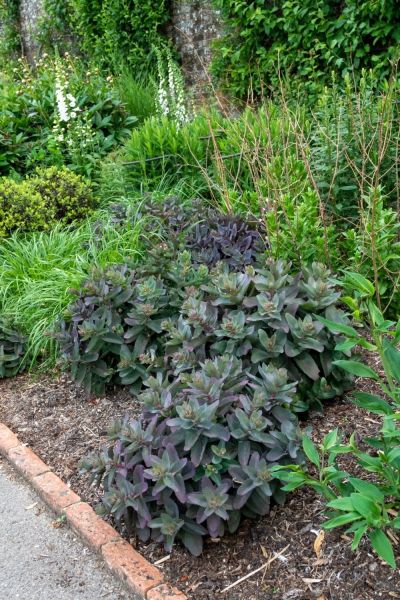
Tom plants young plants into a ‘tadpole’ shape, with a main clump and a tail. He prefers to plant 7-11 small, young plants in 9cm pots rather than 3 larger ones in 2L pots.
Tom says that August is a good month to edit your borders. ‘By that time everything is as big as it’s going to get. Take a notebook or photograph on your phone. So if you see that, for example, there’s a clump of asters that have trebled in size, make a note that you will reduce it by half in autumn or spring.’
Photographs are very useful because if the plant is dormant under the soil, then you have a note of where it is.
Can you recommend a good succession of planting for continuous colour?
Tom suggests focusing on a succession of ‘memorable plants’. ‘It’s that firework thing,’ he says. The perennials will be providing colour in your garden borders according to their season, but if you add one plant in every season that people really remember, you’ll achieve the year round effect.
Achieve this by using annuals, which you can grow from seed every year, or bulbs.
Tom starts sowing his ‘summer firework plants’ in January. Scabious , Ammi major, Verbena bonariensis and Daucus carota (wild carrot) are favourites. ‘I’d put them in the border around the end of March.’
Then he starts the colour in spring with the bulbs. ‘Tulips are your first big performance.
Then as they start to die down, I’d follow with alliums. Plant groups of 10 or 15 alliums. Put some at the back of the border and some at the front.’ Once they start to die down, then the Scabious and Daucus carota will give your border interest.
‘Then I’m a big fan of gladioli,’ says Tom. ‘People think they’re old-fashioned, but there’s a wonderful range of miniature gladioli available now. They don’t need staking and you can put them at the front borders. Think of them as a summer tulip.’
By late summer, the daisy family will give you colour. Rudbeckias and heleniums are good, along with asters.
How to plant plants in a border
Tom starts by immersing the plants in water. ‘That’s your only opportunity to make sure the root ball is really well watered. Fill a bucket of water. Put the whole pot in until the bubbles stop emerging. That means the whole root ball is saturated.
He prefers to plant more smaller plants rather than fewer larger ones. ‘With seven or nine smaller plants you can really create a drift,’ he says. ‘If you’re planting three larger ones, it’s hard to get away from creating a triangle.’
He digs a hole slightly larger than the root ball and loosens the soil on the bottom and sides of the hole. ‘So the plant roots can punch through easily.’
He waters newly planted plants for the first three weeks if the weather is dry. ‘It’s better to water properly for the first few weeks than to water a bit one month, then a bit the next.’
He generally plants plants around 12″ apart.
How can an amateur gardener best achieve gorgeous garden borders?
It is worth saying that a professionally-run garden, especially one that is open to the public, has more expertise and resources than a private garden. So it is much harder for us amateur gardeners to achieve a long-lasting blaze of colour in our garden borders.
But we can still have beautiful, colourful borders, which we can really enjoy. They won’t be quite at the same level. Although if you read about Paul and Frances Moskovits’ amazing herbaceous border, you’ll see that it can be done.
Tom’s advice is to focus on fertility. Really beautiful garden borders are packed with plants, so they need extra nutrition.
He says the best way to build that up is to add a layer (2″-3″) of garden compost, ‘amenity compost’ from your local council, mushroom compost or other soil improver every spring after you cut your winter borders down.
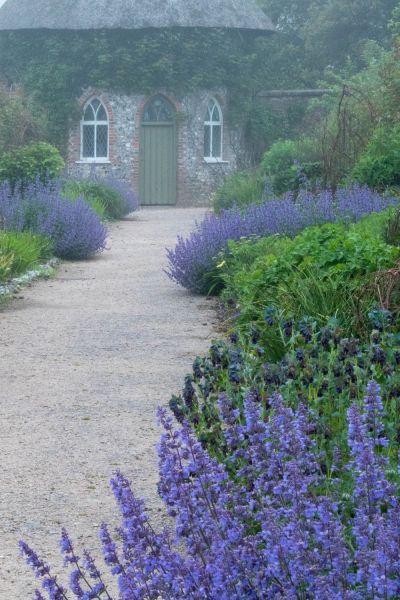
Your plants will look lush and healthy (and are more likely to resist disease) if you fertilise your soil. Use a layer of garden compost or other soil improver every spring.
That will build the fertility. ‘Plants will grow more lush and be less likely to succumb to disease. ‘Then you’ll get that billowing effect you see in professional gardens,’ says Tom.
How deep should a garden border be?
Tom says that a good border is ‘an immersive experience’. So deeper is better. He suggests aiming for 2-3 metres.
If you have a narrow garden, then he suggests creating an immersive feel by using a winding path. ‘You’d have a deep border on one side, with a narrow border echoing it opposite.’ Then a few feet later that would be reversed.
You’d be really immersed in the flowers and plants and it would look very lush from the house.
What are your tips on staking in garden borders?
Tom says that the key to staking plants so they don’t flop over or get tangled up is to start early. ‘Whether you’re using metal stakes, woven birch or hazel or even the plastic, get the plant staked early. It’s much more successful than trying to rescue something that’s flopped over and which will then look trussed up for the next month.
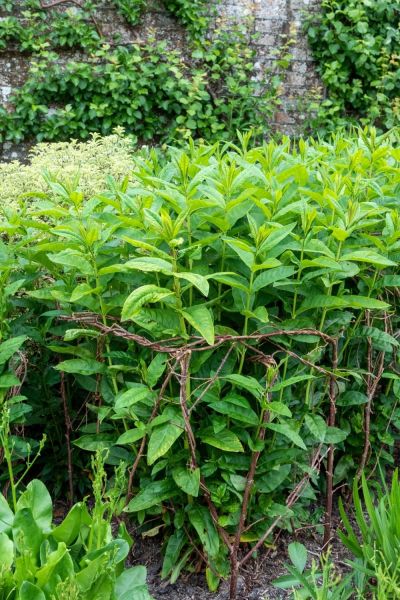
These are natural plant supports woven out of birch or hazel. You can find out how to make plant supports out of clippings here.
There are more expert tips about planning a border here and also how to plant a border like a pro here.
It’s also worth thinking about structures in your garden borders. That’s the permanent elements, such as paths, pots, pergolas, paving, arches and even garden ornaments. They can make a huge difference to the end result. See Garden Structure – the reason why some borders look brilliant and others don’t.
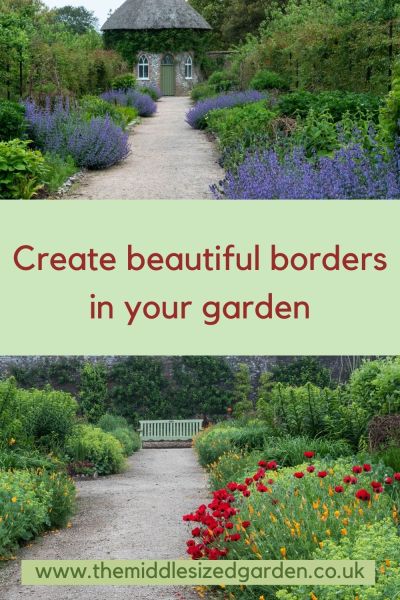
Pin to remember garden borders advice
And do join us for a free weekly email with gardening tips, ideas and inspiration. You’ll find the details here.







Amazing tips , thank you so much.
Do you have any specific article regarding a heat resistant plants . i need to do a garden in Saudi Arabia, and i am a bit lost ….
I don’t have any expertise at the hot end of the weather, but it could be worth contacting the Horti-Culturalists on YouTube as they garden in Australia. It’s the temperate part of Australia but it can get very hot in summer and they may be able to recommend a blog or youtube channel for hot countries. https://www.youtube.com/@thehorti-culturalists
I always look forward to these weekly blogs and always enjoy articles by Tom Brown, so a double result this week. Very useful advice for when I replan my small border this autumn
Thank you!